


When you’re honing your oil painting skills, chances are you’ll have a few questions along the way. We know this because we often receive them in our inbox! From “how long does oil paint take to dry?” to “what kind of brushes should I use?”, we’ve rounded up the most common oil paint questions we’ve seen popping up to give you all the answers in one place.
1. How long does oil paint take to dry?

In general, oil paints can take from 2 days to 2 weeks to dry to the touch. The reason drying times can vary is that each oil paint colour dries at a different rate depending on the pigment. For example, Umber and Sienna might dry in 2 days, but Titanium White can take up to 2 weeks. It’s also worth noting that if you want to varnish your painting, we’d recommend waiting 6 months to make sure it has dried all the way through (this is known as curing). Even if it’s dry to the touch, the layers underneath might not be completely dry yet.
2. Why is my oil painting cracking?

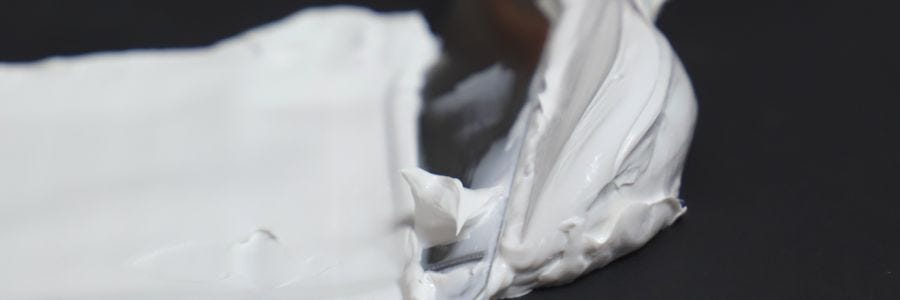
The most common reason for an oil painting to crack is if a thin layer of paint is applied over a partially dried thick layer. The thin layer will dry more quickly, while the thicker layer underneath is still going through the drying process which means it will be moving and shrinking. Since the top layer has dried, this movement can cause it to crack because oil paint isn’t very flexible once it’s dry. This problem can be avoided if you keep the first layer thin and give it time to dry, then apply your slightly thicker layer on top. This is known as the “fat over lean” principle.
3. What kind of brushes should I use for oil painting?

Since oil paint is thick, it’s best to use a paint brush with stiff bristles. We’d recommend hog hair brushes because they have very firm bristles that work well with the consistency of oil paints. There will also be times when you thin your oil paints using turpentine or a medium to create a glaze or tint the canvas. For this painting step, we’d suggest a softer brush with taklon or sable bristles.
4. What is a glaze in oil painting?

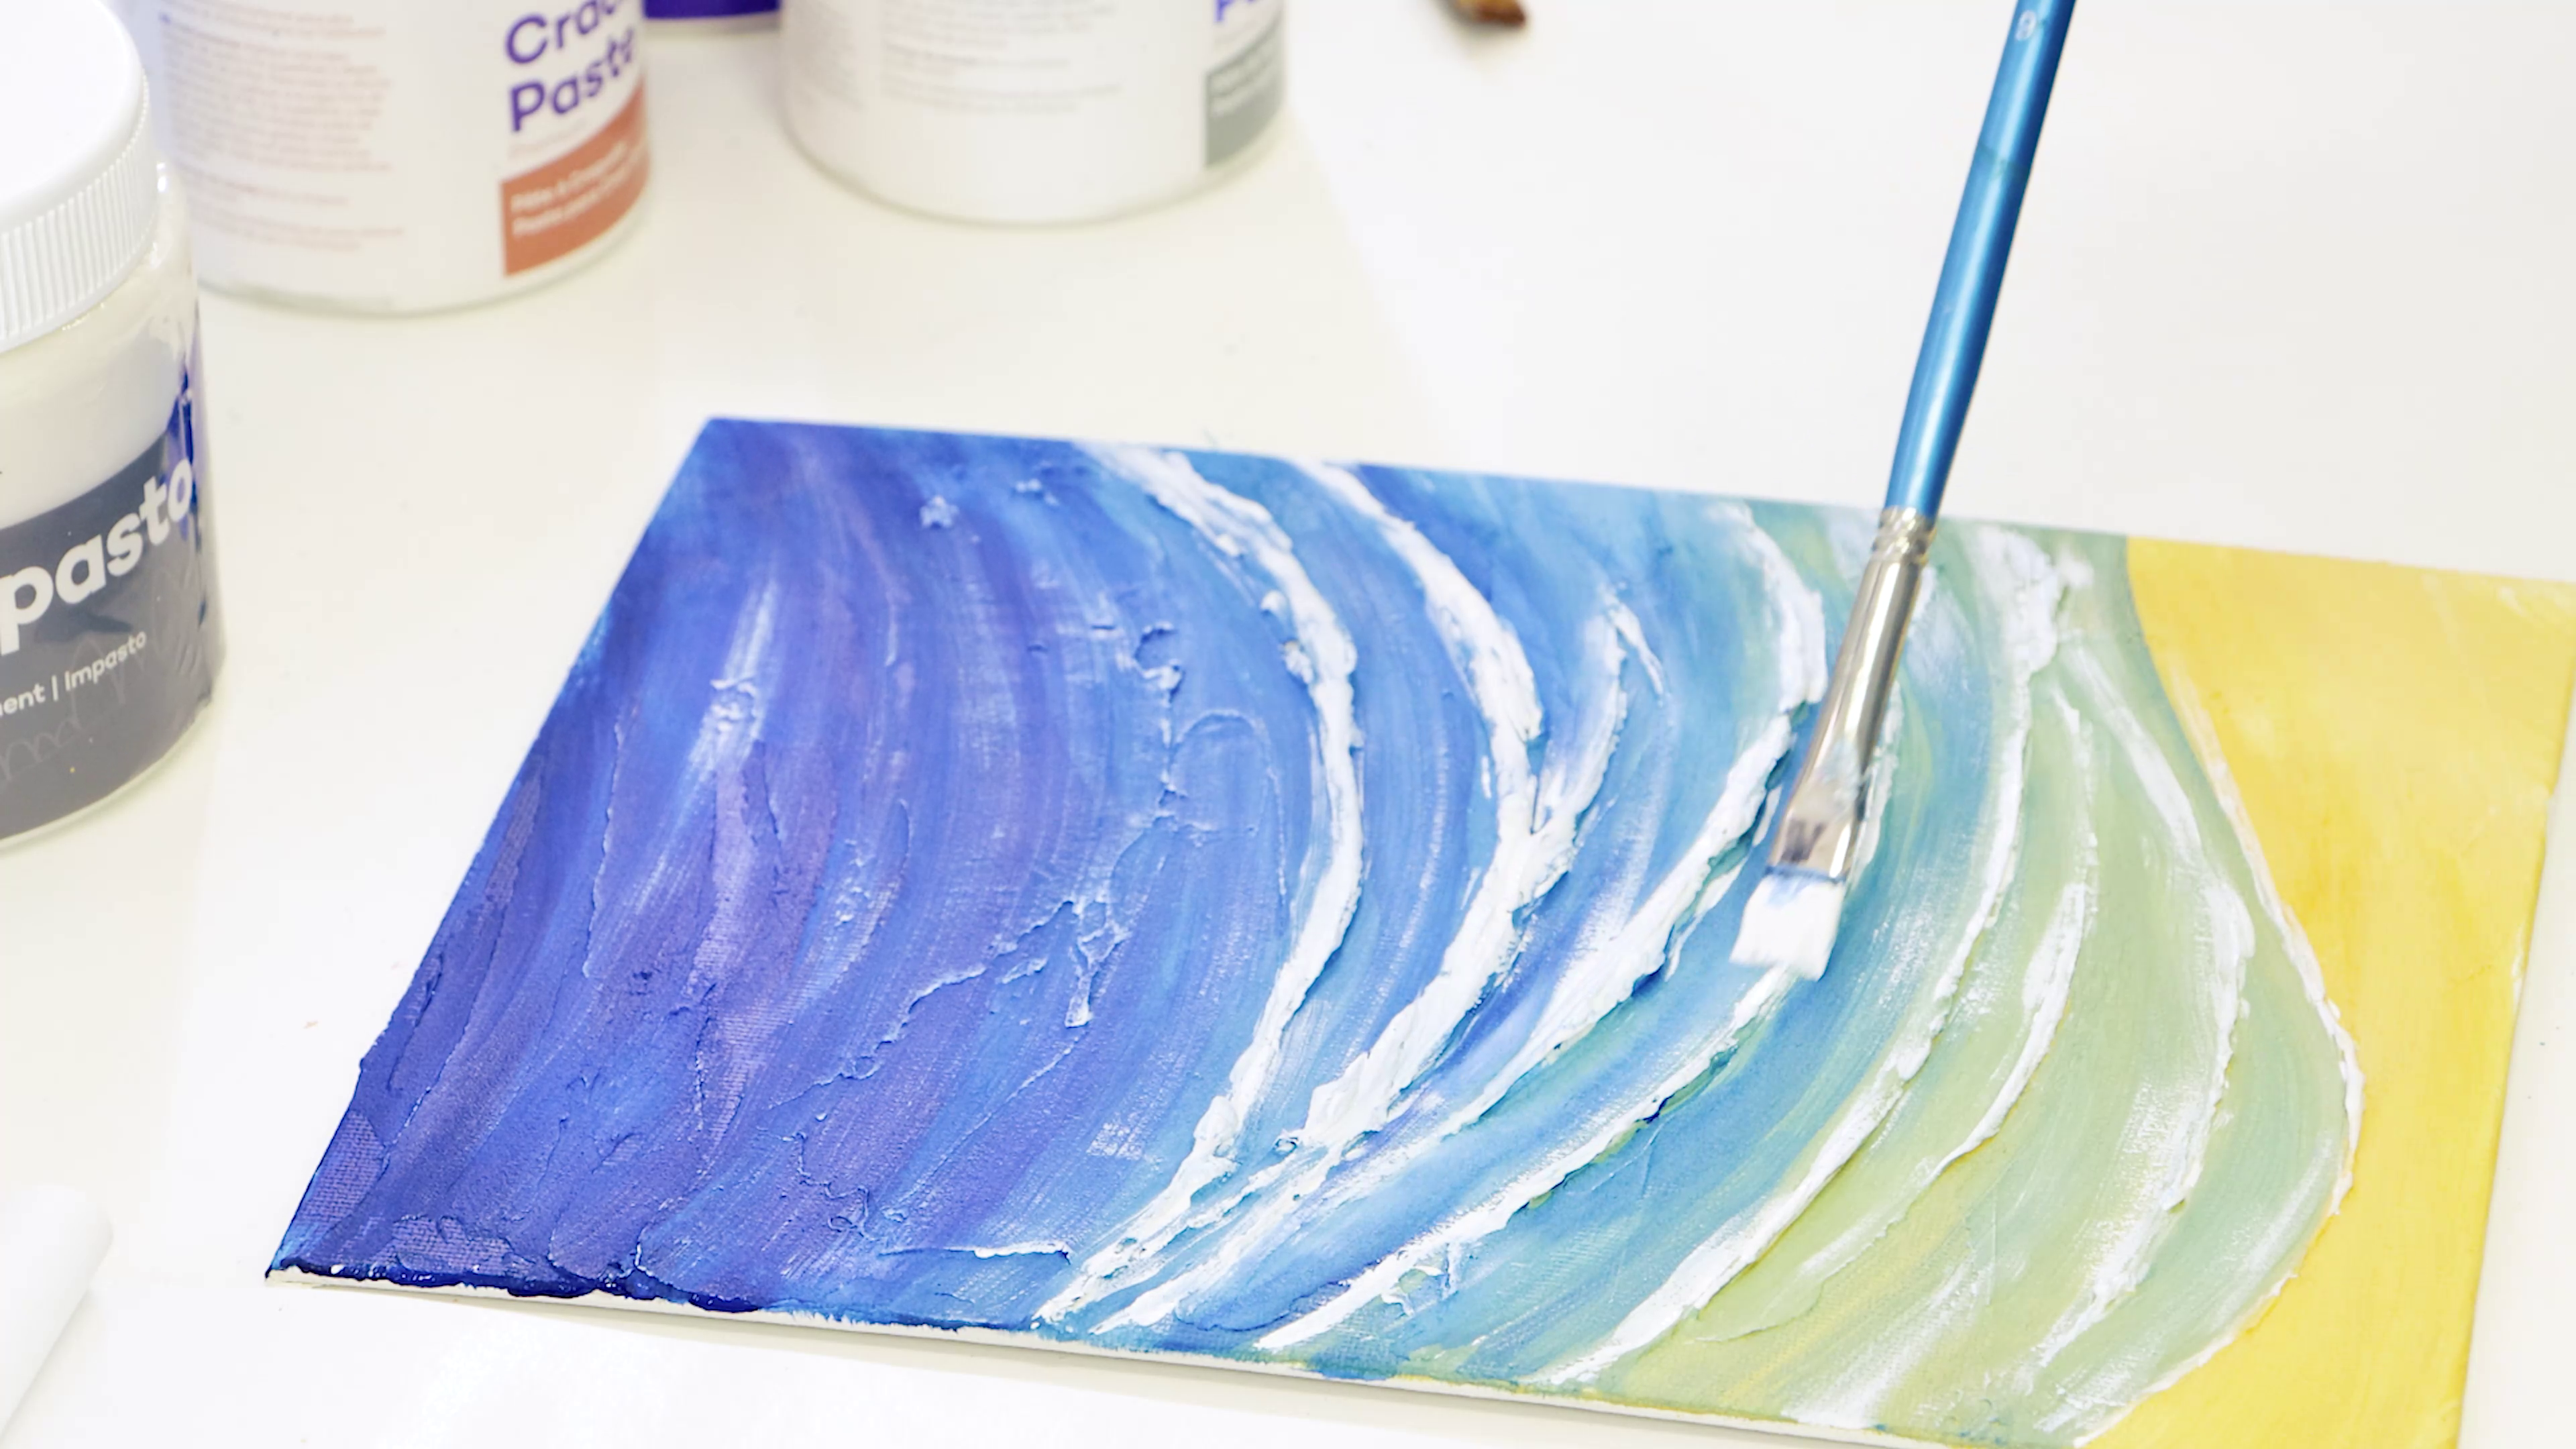
Glazing is a technique where you apply a transparent or semi-transparent layer of paint over a dried layer of paint. This technique can be used to adjust or enhance colours without losing the layers underneath, as well as creating effects such as rays of light, water and glass. We create our glazes by mixing a linseed oil medium with oil paint to make them more transparent.
5. What are the benefits of using oil paints?

One of the main benefits of oil paint is it’s drying time. Since it takes longer to dry than acrylic paints, you have more time to work. They’re also great for blending and creating smooth transitions which is something that’s very difficult to do when you’re using acrylic paints.
6. How do I clean my oil paint brushes?

For best results, clean your oil paint brushes using the following steps:
1. Remove the excess oil paint off the brush onto a paper towel.
2. Clean the paint out of the bristles with natural turps.
3. Dry it off on a towel, then clean it again.
4. Dip the brush in a clean jar of turps and dry the brush on a towel. The bristles should be free of colour now, but there may be some paint at the base of where the bristles meet the ferrel.
5. To remove paint at the base of the ferrel, dip the brush in a jar of vegetable oil, wipe of the excess and then dip the brush in the clean solvent then dry the turps off the bristles on to a clean towel.
6. Repoint/mould the bristles into the correct shape with hair conditioner and stand the brushes upright in a jar.
We’ve also outlined some tricks in our oil paint brush cleaning tips video if you want to see how it’s done.
7. How often should I clean my brushes when oil painting?

While we’re on the topic of brush cleaning, you might be wondering how often you need to do it. The good news is that you don’t have to continually clean your brushes as you paint. Instead, you can wipe the paint off the brush with a rag or paper towel as you go. A handy tip is to use your brushes in colours groups (e.g. reds, greens, yellows, white and black). This will help stop your colours from getting muddied if there’s a little bit left on the brush. At the end of each painting session, use the cleaning steps outlined in the previous point to minimise damage and get them ready for your next session. Even though it might be tempting, never leave your brushes in a jar of solvent to soak. This can cause the bristles to swell which can lead to shedding further down the track.
8. Why is my oil paint seperating when I squeeze it out of the tube?

Sometimes when you squeeze oil paints out of the tube you might notice that a little bit of oil comes out too. This is normal and happens because the pigment is insoluble and heavier than the oil which means it can become separated from some of the oil in the tube. You can fix this by gently squeezing and moulding the tube to mix it back together. If there’s still some excess oil after you’ve done this, you can use the corner of a paper towel to soak it up and then mix the paint with a palette knife.
9. What oil paint mediums should I use?

The best mediums to use with oil paints are linseed, walnut and safflower oil because they mix in smoothly and are hard when they dry/cure. These will help adjust the thickness and/or translucence of your paints.
10. Can I use regular cooking oils as a painting medium?

A great question, but the answer is no. You can’t use regular cooking oils as a painting medium because it doesn’t dry or harden like linseed, walnut and safflower oil. So, if you use regular cooking oils (like vegetable oil, peanut oil and canola oil), your painting will never completely dry.
11. Can I mix oil paints with other types of paints?

The short answer to this question is no. As you might know, oil and water don’t mix. Because paints like acrylic, watercolour and gouache are water-based, they won’t mix with oil paints. The exception is if you’re using water mixable oils because these are designed to be used with a range of oil and water-based mediums! It’s also worth noting that you can use oil paint over other paints once they’ve dried if you’re working on a mixed media artwork (although we don’t recommend painting acrylic over oil paints because of their slow drying process).
12. How do I create a consistent finish on my painting?

You might have noticed that your oil paints dry to a different finish depending on the colour. To give your paint an all-over matte, semi-gloss or gloss finish, you might like to use a finishing varnish once your painting is dry. It’s worth noting that if you do decide to varnish your painting, you’ll need to wait for a minimum of 6 months so that the painting is completely dry. This will help prevent the varnish from cracking.
13. How do I varnish an oil painting?

As we noted in the previous question, the most important thing to remember before varnishing your oil painting is to allow it to dry properly first. If it’s not dry and you apply varnish over the top, the varnish can crack due to the movement of the paint as it continues to dry. For this reason, we recommend waiting for at least 6 months for your painting to dry, and then using a wide and soft taklon brush to apply broad, even strokes.
14. How do I keep my paints fresh for multiple sessions

If you’ve accidentally put out more paint than you needed for a session, you can wrap your palette in cling film to help stop them from drying out. This can also be helpful when you’ve mixed colours because these can be hard to recreate.
We hope this article answers all your oil paint questions so that you can get back to creating and doing what you love!
Are you working on an oil painting? Tag us on Instagram or Facebook using #montmarteart so that we can check it out.